
Well, the fact that I don't own a DSM anymore doesn't mean I still can't contribute to this site! Since selling the DSM, I picked up a IS350 from work and a EP3 civic for winter duties. The ep3 came with winter tires only, so I picked up a cheap set of em1 wheels and bought some kumhos to take the car autocrossing this summer. The wheels were pretty beat though, with some curb damage and a lot of oxidized clear coat. I decided to clean them up today and paint them, so I figured I'd make a DIY to share with you guys.
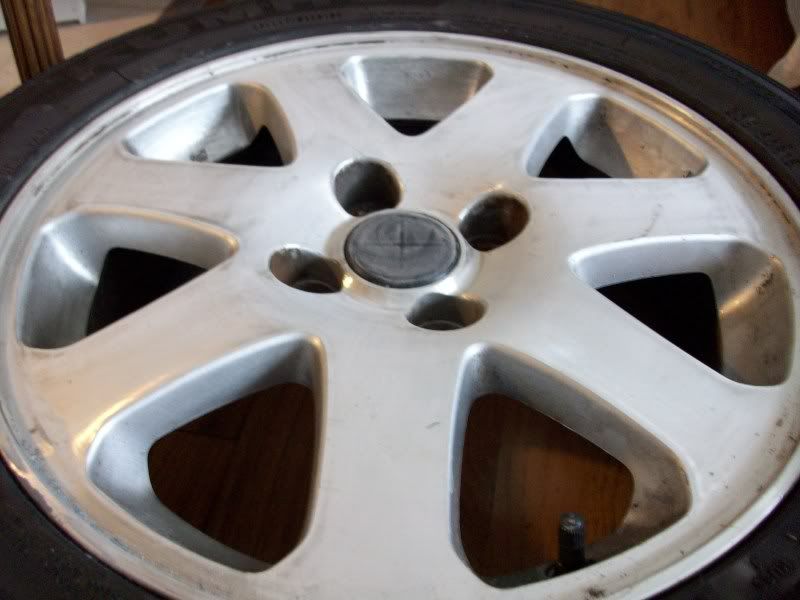
So today, we'll be fixing and painting my em1 summer wheels. They had a fair bit of curbage, so that's our first task to clean up.
Supplies:
Paint/Primer/Clear coat- You can use whatever brand you like but I've found rustoleum painter's touch clear to be the best. The paint/primer is up to your imagination. I have personally had the best results with all rustoleum products though.
Sandpaper- You need the minimum of a sheet of 600, but if you're fixing curb damage grab 60, 120, 240, 400, and 600.
Metal file- If you have curb damage
Index cards- one pack should do, wallmart had it very very cheap.
Rubbing alcohol- One bottol
Lint free rags- Have a bunch on hand, they'll come in handy.
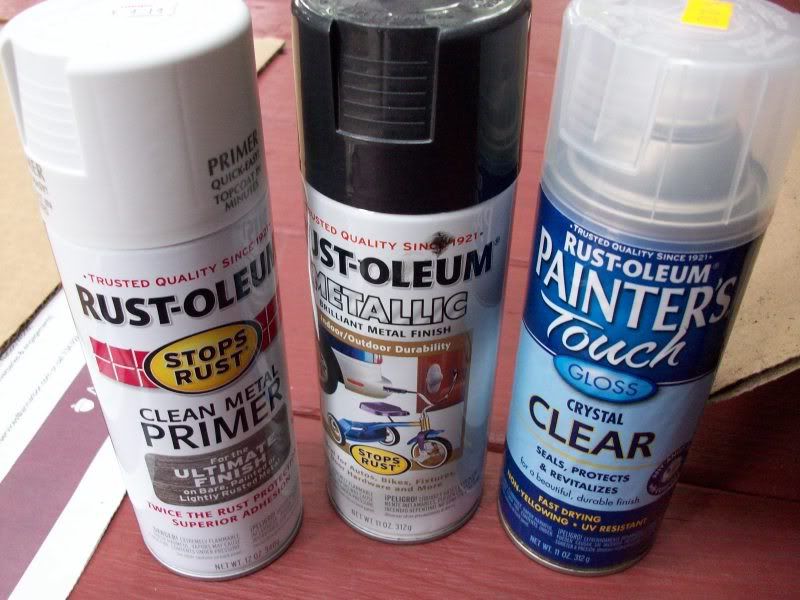
The paint supplies I used:
![Image]()
*Skip this part if your wheels don't have any curb damage*
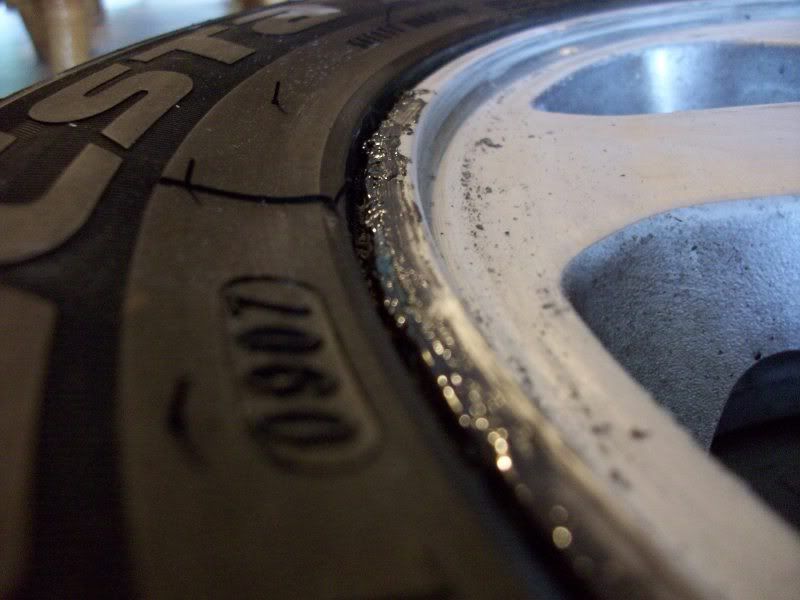
1) Take a flat metal file and round out the curbage as much as you can. Then mix up a 1/1 mixture of JB quick and metal epoxy (jb weld alone works fine too, it just might not be as strong or bond as well) and grab a small toothpick. Use the toothpick to pick up a glob of jb and put it on the deepest part of the damage. Let it sit for about one minute to start hardening, and then work quickly to spread it out over the damaged area. Let sit for about half an hour. You'll get something like this:
![Image]()
2) After you've got all of the damaged areas built up, start sanding. I like to start with 60 grit by hand to get the basic shape and then go to 220 to 400 for feathering the edges. Once you finish all of the sanding, you'll get this:
![Image]()
Perfectly smoothed out and will not show up once you paint over.
3) Now we'll prep the for paint. I like to use straight 400 grit with VERY light pressure. You're not trying to take any material off, just give the paint some mechanical bite for better adhesion.
![Image]()
3) Now, we're on to paint. Wash the wheels first with a 1:10 mix of water and dawn soap. Clean well, dry with a towel, and let it sit to finish air drying. Then grab a bottle of denatured alcohol and a lint free rag and clean up all surfaces, you'll be surprised how much was still left after even the wash.
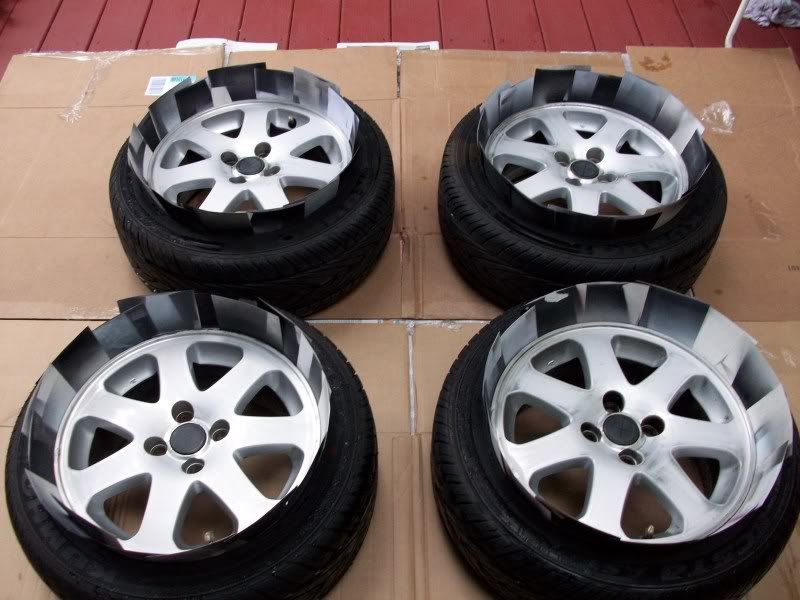
4) Now grab a stack of note cards and start placing them between the rim bead and tire. If you're good, this will be enough to keep paint off your tires. If you're a bit of a spaz, you may want to mask off the tires too.
![Image]()
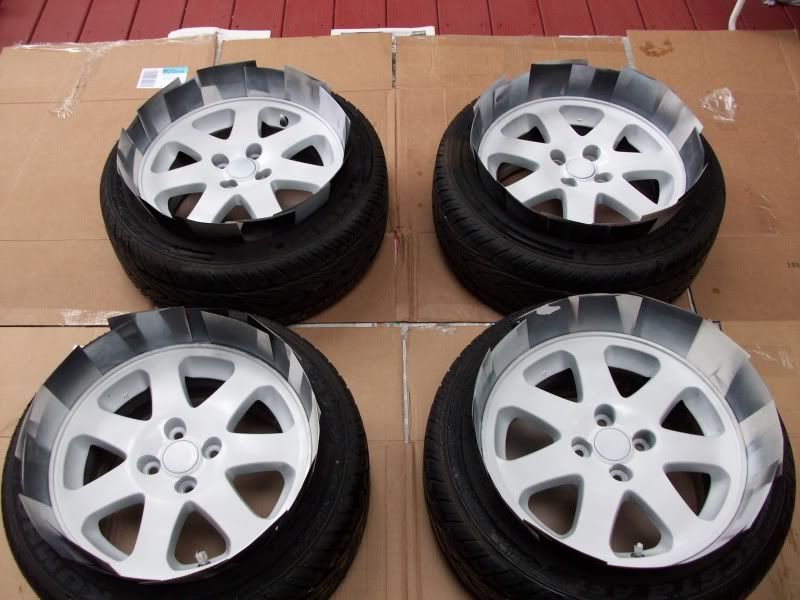
5) Primer time! As with all paints, do one light first coat, followed by medium coats until you have full coverage. I like to wait about 2-5 minutes between coats depending on weather condition.
![Image]()
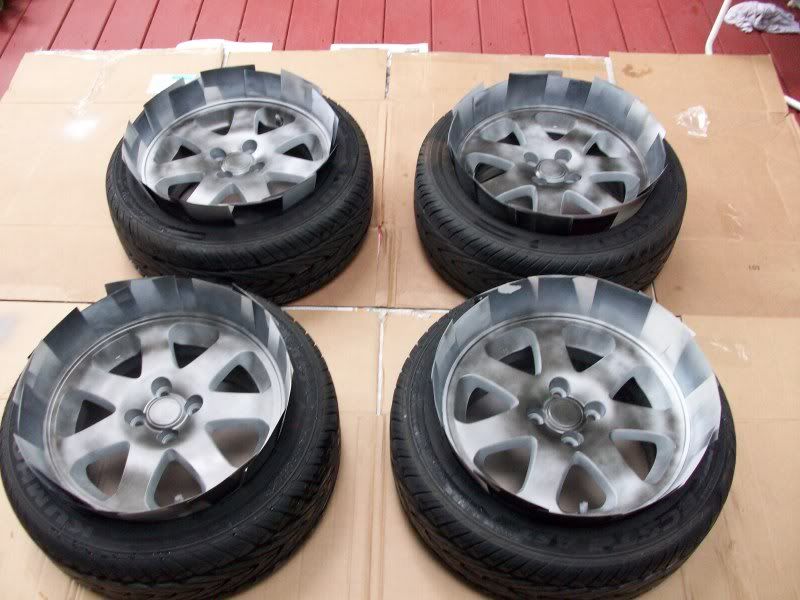
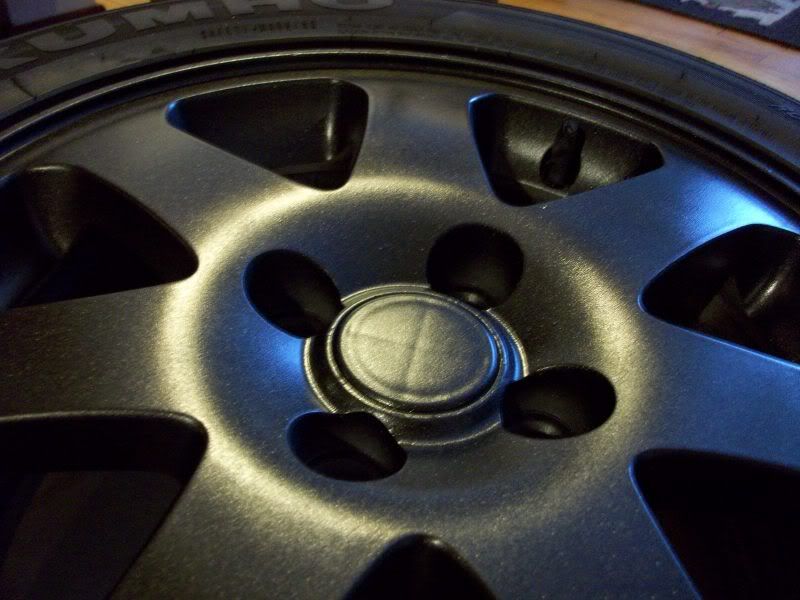
6) Now time to paint! Again, we want a very light first coat, followed by medium coats for full build.
First coat:
![Image]()
Full coverage:
![Image]()
Now is also a good time to check all of the nooks/cranies for spots you may have missed.
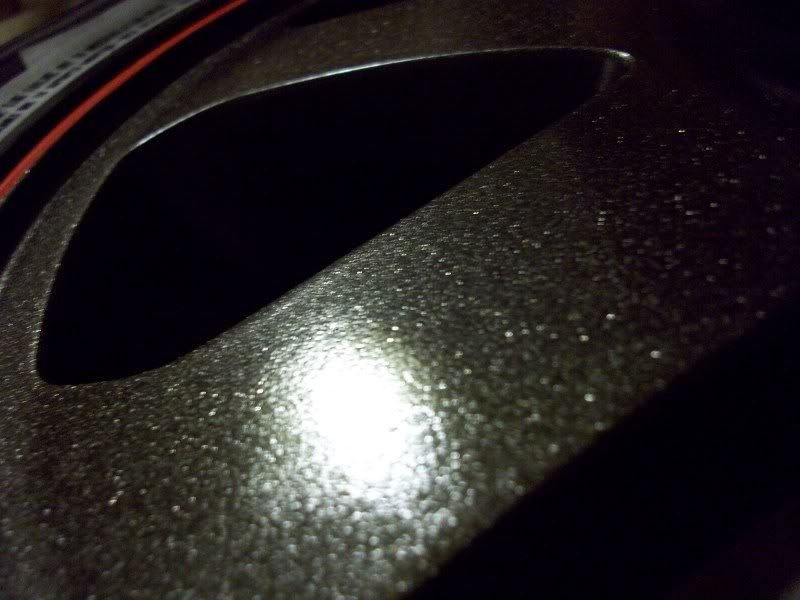
7) Clear coat. I like to do about 3 coats, with the first being very mild, second being fairly heavy for full coverage, and then a third after a few minutes to even out the second coat. Also, I like to get rained out in the middle of painting my wheels so I have to look like a tard as I try to move four wheels into the house without touching them :lol:
![Image]()
![Image]()
![Image]()
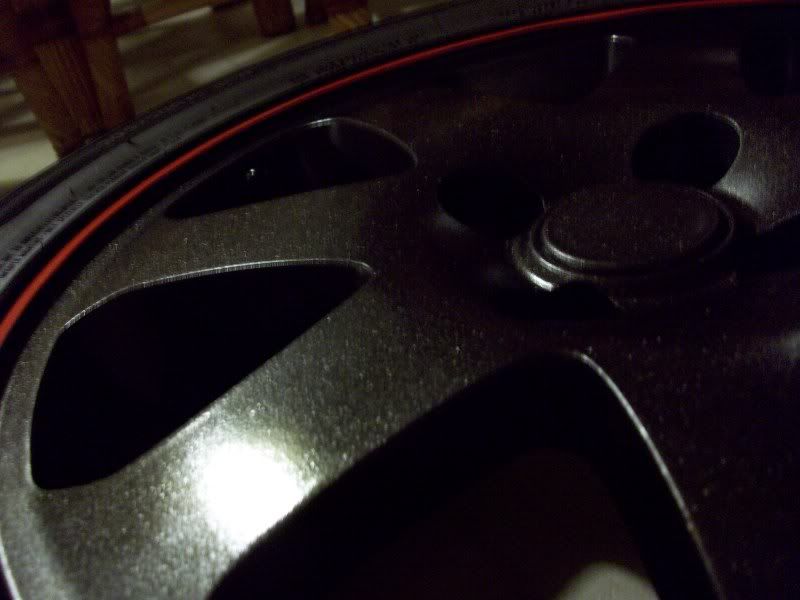
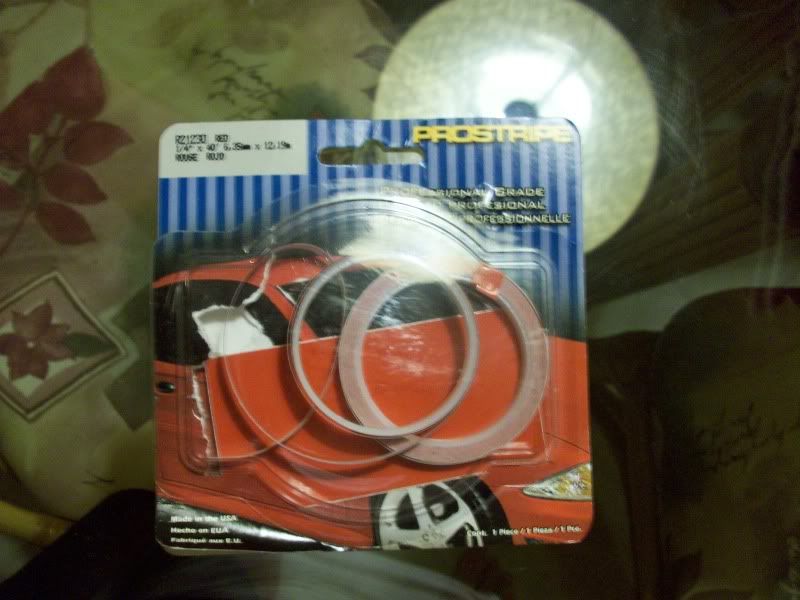
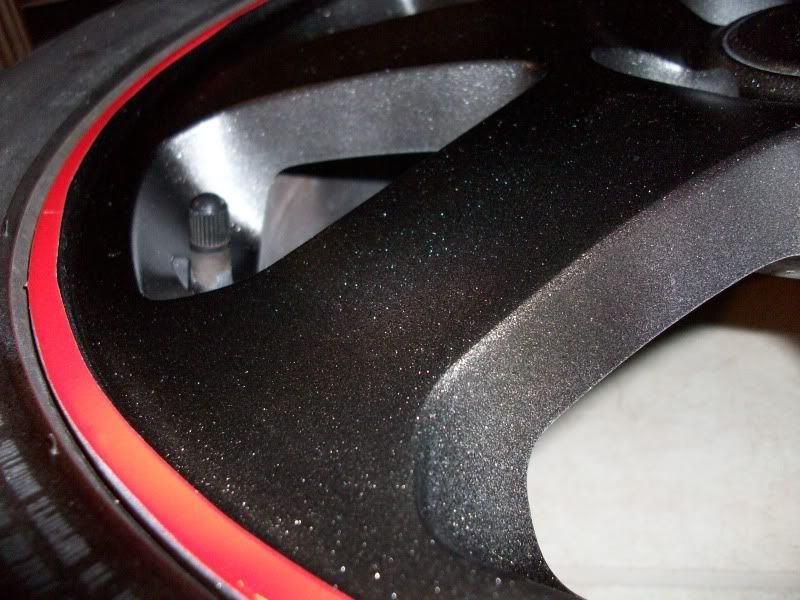
7) Final optional step is pin striping. This is fairly self explanatory, grab some tape and go at it. If you're twitchy, get someone to do it who has steady hands. I like to use one hand to keep tension on the tape and the other to lay it down evenly. Also, don't forget to let the wheels dry to the touch before trying this!
![Image]()
![Image]()
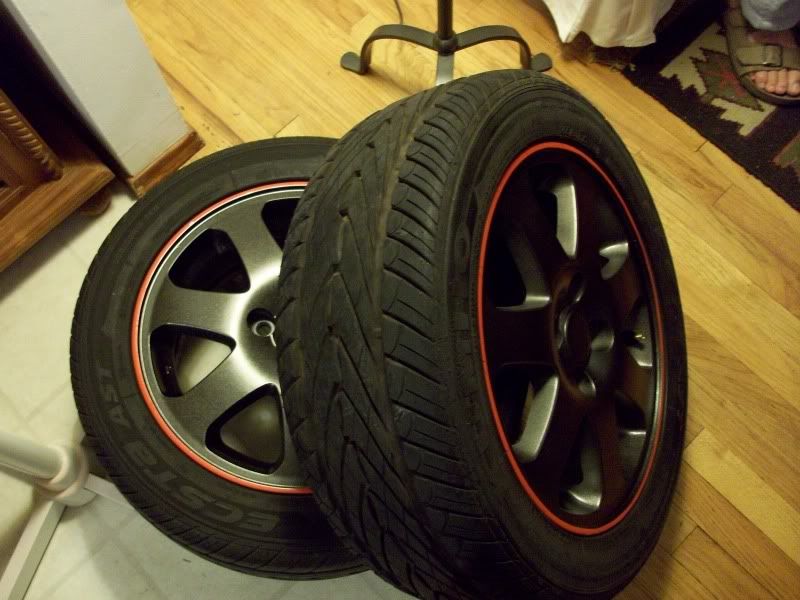
8) Done!
![Image]()
So today, we'll be fixing and painting my em1 summer wheels. They had a fair bit of curbage, so that's our first task to clean up.
Supplies:
Paint/Primer/Clear coat- You can use whatever brand you like but I've found rustoleum painter's touch clear to be the best. The paint/primer is up to your imagination. I have personally had the best results with all rustoleum products though.
Sandpaper- You need the minimum of a sheet of 600, but if you're fixing curb damage grab 60, 120, 240, 400, and 600.
Metal file- If you have curb damage
Index cards- one pack should do, wallmart had it very very cheap.
Rubbing alcohol- One bottol
Lint free rags- Have a bunch on hand, they'll come in handy.
The paint supplies I used:
*Skip this part if your wheels don't have any curb damage*
1) Take a flat metal file and round out the curbage as much as you can. Then mix up a 1/1 mixture of JB quick and metal epoxy (jb weld alone works fine too, it just might not be as strong or bond as well) and grab a small toothpick. Use the toothpick to pick up a glob of jb and put it on the deepest part of the damage. Let it sit for about one minute to start hardening, and then work quickly to spread it out over the damaged area. Let sit for about half an hour. You'll get something like this:
2) After you've got all of the damaged areas built up, start sanding. I like to start with 60 grit by hand to get the basic shape and then go to 220 to 400 for feathering the edges. Once you finish all of the sanding, you'll get this:
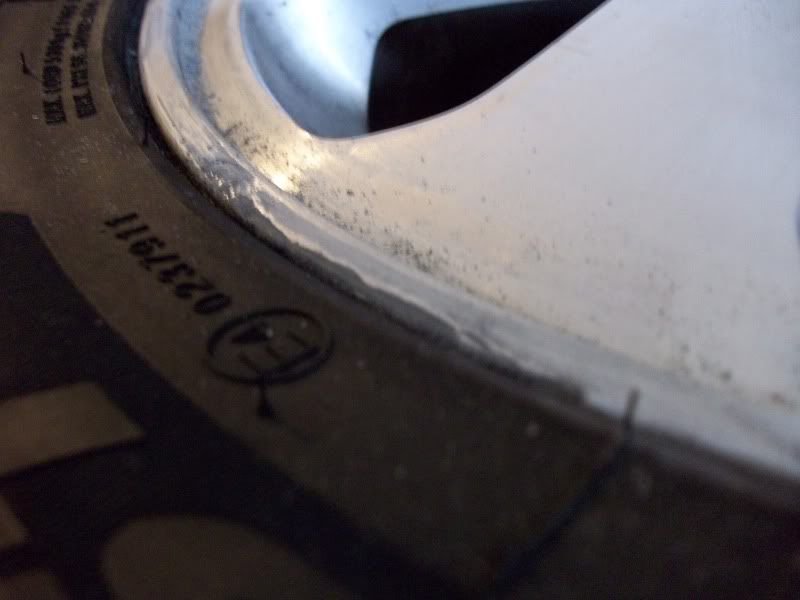
Perfectly smoothed out and will not show up once you paint over.
3) Now we'll prep the for paint. I like to use straight 400 grit with VERY light pressure. You're not trying to take any material off, just give the paint some mechanical bite for better adhesion.
3) Now, we're on to paint. Wash the wheels first with a 1:10 mix of water and dawn soap. Clean well, dry with a towel, and let it sit to finish air drying. Then grab a bottle of denatured alcohol and a lint free rag and clean up all surfaces, you'll be surprised how much was still left after even the wash.
4) Now grab a stack of note cards and start placing them between the rim bead and tire. If you're good, this will be enough to keep paint off your tires. If you're a bit of a spaz, you may want to mask off the tires too.
5) Primer time! As with all paints, do one light first coat, followed by medium coats until you have full coverage. I like to wait about 2-5 minutes between coats depending on weather condition.
6) Now time to paint! Again, we want a very light first coat, followed by medium coats for full build.
First coat:
Full coverage:

Now is also a good time to check all of the nooks/cranies for spots you may have missed.
7) Clear coat. I like to do about 3 coats, with the first being very mild, second being fairly heavy for full coverage, and then a third after a few minutes to even out the second coat. Also, I like to get rained out in the middle of painting my wheels so I have to look like a tard as I try to move four wheels into the house without touching them :lol:
7) Final optional step is pin striping. This is fairly self explanatory, grab some tape and go at it. If you're twitchy, get someone to do it who has steady hands. I like to use one hand to keep tension on the tape and the other to lay it down evenly. Also, don't forget to let the wheels dry to the touch before trying this!
8) Done!