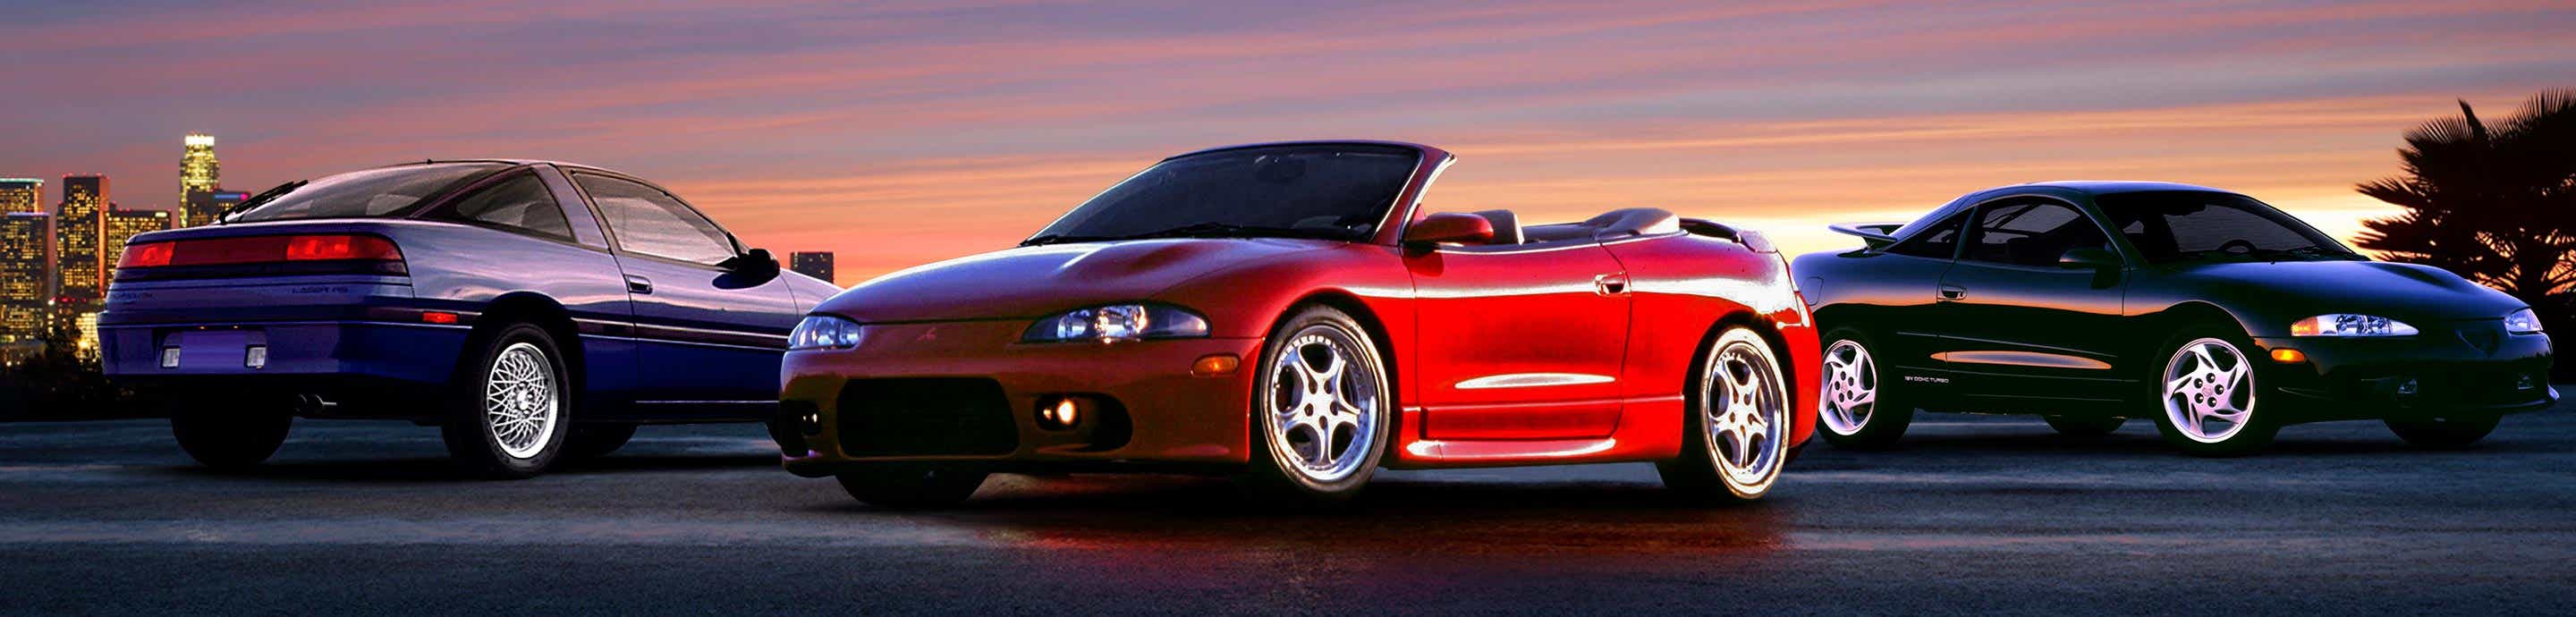
DSMTalk Forums: Mitsubishi Eclipse, Plymouth Laser, and Eagle Talon Forum banner
41 - 60 of 149 Posts
Discussion starter · #43 ·
Nice work man. How long of a process has this been?
Just over 7 months. This includes a good 2 month lay off as I bought a house in June and didnt even look at it for a while.
 
Nice build, sick setup!

I have the AMS remote line, its awesome and I would really recommend it. But not for a stock pressure gauge, its worthless anyways..

Are you getting a aftermarket oil press gauge?

DOwnpipe is sick, but I see no o2 sensor/bung.. are you going to run simulation or wat..
 
Discussion starter · #45 ·
Nice build, sick setup!

I have the AMS remote line, its awesome and I would really recommend it. But not for a stock pressure gauge, its worthless anyways..

Are you getting a aftermarket oil press gauge?

DOwnpipe is sick, but I see no o2 sensor/bung.. are you going to run simulation or wat..
Still up in the air on the oil pressure gauge. Ive had electric ones and t promised myself I would never buy another. If I do it will definitely be a mechanical one. The o2 sensor bungs were added later on. I wanted to fit everything into the bay so I knew exactly where I wanted them(narrowband and wideband) to be.
 
Thats the way they are stayin, lol.
No problem, lol, just thought I'd mention it.

They have a curved vain structure, AKA- directionally vented. It will effect the cooling of the rotor. Probably not as noticeable on the street as it would be on a track car though.

I have the same Baer kit on my 2g.

Car is looking good Nick.
 
I got through the first half of the thread before I realized it was a 2g. That is one nice looking whip. My favorite color Talon.

To borrow a line from Hawaii, I too would like to fuck your car.
 
Discussion starter · #49 ·
Figure I would throw a quick update in. Ive been getting a lot of little tedious things finished up, unfortunately I havent been taken as many pics as I should.

I did the alternator relocation and decided on re-wiring it. I opened the harness and pulled both the power wire and plug wires from it. I then re-ran the plug to the rear along with the new power wire, which is now 4 AWG. I also finished up the wiring from my battery relocation. 0 AWG going into the distribution block with (4) 4 AWG coming out. Im using three - Alternator in, starter, and headlights. Got them loomed up and ran pretty much where I want them. Here are a few pics of that.
Image

Image

Image

Image

Image


Another thing I got done was clocking the turbo and mocking up my FMIC piping and working out things that I need to get welded, such as Tial flanges(WG and BOV), (2) 1/4" NPT bungs for the water/meth nozzles and a few other small things. Here are a few pics of that stuff.
Image

Image


I should have some more goodies coming shortly, Ill be sure to get some more pics.
 
Discussion starter · #50 ·
BTW, here are a few pics of my garage. Just to backtrack a bit. I was working on the car at my buddy Joe's house(yellow90tsi). I bought a house in July, fixed the garage up how I wanted it, and got my car moved in about 6 weeks ago. I have pretty much everything I need. Compressor, work bench, most air and power tools Ill ever need, and a torpedo heater finishes things off.

Image

Image

Image

Image

Image

Image
 
Discussion starter · #52 ·
Another quick update...
Finished up all the wiring, which came out pretty bad ass. In the end I opened up the wire harness at the firewall and re-did pretty much everything. Lengthened and shortened every connector that I felt needed. I also loomed them pretty much individually and cleaned up and did what I can without doing an extensive wire tuck. You wont truly see the results until everything is bolted up and finished but these give a good idea.
Image

Image


Another small thing I did was cleaned up/modified the power steering lines and reservoir. Since I removed the power steering cooler I was left with a pretty ugly and un-needed loop in the lines. What I did was cut off the nipple and added my own pointed in a different direction so I was able to cut the factory PS line and add a short rubber line which cleaned the area up tremendously. I also refinished the reservoir and cap to finish off the look.
Old look...
Image

Old vs new...
Image

Finished...
Image

Image


I also finished mounting my turbo setup along with heat wrapping my o2 housing and downpipe.
Image

Image

Image

Image


I also finished my Cyclone intake rebuild/modding. This included a complete teardown of the manifold, powdercoating, and fabbing of the actuator for it to function effectively.
All three pieces back from powdercoating...
Image

All three pieces with TWO sets of OEM gaskets. I dare anyone in America show two sets of OEM gaskets. No longer made by Mitsubishi and super rare to get ahold of.
Image

Dual runner design FTW...
Image

Fully assembled(also in pic, powdercoated fual rail w/ pressure gauge and AFPR)
Image

Completely finished, close ups of the WGA setup...
Image

Image

On the car(also in pic, rebuilt and ported n/t TB w/FIAV blockoff and shaved coolant lines)
Image
 
I love your garage, nice and clean. I notice the wiring store house on your wall, is that from harbor freight? Your build is looking amazing. Keep up the good work.
 
Discussion starter · #54 ·
I love your garage, nice and clean. I notice the wiring store house on your wall, is that from harbor freight? Your build is looking amazing. Keep up the good work.
Thanks man. The garage isnt that big but it certainly does the job. That is a Harbor Freight wire setup. I get alot of little goofy stuff there.
 
I love harbor freight. They have small stuff like pry bars and stuff for cheap. I don't buy my sockets from there but other stuff works great. I have a 2 bay shop, but yours is cleaner than mine haha. Mine got cluttered with tons of parts cars. I used to have a small one bay storage unit, then I moved up to an actual 2 bay shop.

So, whats next in the project?
 
Discussion starter · #56 ·
So, whats next in the project?
Because of the Cyclone intake runners dipping slightly lower than the US intake I had to re-mount my JMFab coil pack relocation about an inch or so lower. Unfortunately because of this, my #1 spark plug wire doesn't reach the coils. I have no choice but to order a 2nd set of wires. I will do this either Monday or Tuesday. Once I get them in I will then install the intake mani(cant now because of the WGA on the Cyclone and alt. relocation being in the way, ugh). I can then install all the IC pipes and BOV. After that it's just fluids, vacuum lines and a couple other small things and Im ready to fire it up.

Right now the plan is to start it in two weeks.
 
Discussion starter · #57 ·
Update...
Ive been doing some polishing lately, or least trying. Pretty time consuming and Id say its the 2nd shittiest thing to do behind porting... but I guess its worth it in the end. Here are a few pics.

Here we have an ERL T3 exhaust manifold, FMIC piping(3 pcs), Tial Wastegate and BOV, oil catchcan and coolant overflow bottle.
Image

Image

Image

Image

Image
 
Discussion starter · #59 ·
Quick update...
Finished mounting the turbo setup including the oil lines(-4 inlet/-10 return).
Image


Also got my injectors(1150s), fuel rail, fuel lines, oil catchcan, throttle cable, vacuum lines, etc all installed.
Image

Image


I also got alot of small things finished up. Clutch and brakes are bled, drivetrain fluids(Redline FTW), and all my wiring is done for now. This includes the GM 3.3 bar MAP sensor and PLX wideband. The only thing left to wire is my water/meth kit and I may wait to do that. Also, waiting for my valve cover to get back from the paint shop. Had it body matched - Paprika Red.

Not much left until start up. Radiator, FMIC and pipes, wheel well plastics/bumper and Ill be ready to go. Right now Im shooting for next weekend.
 
Discussion starter · #60 ·
Another update...

Got a couple more things finished up. First thing was custom fiberglass gauge pod that my homeboy Joe(yellow90tsi) made for me. Bad ass work indeed.
Image

Image

Image


Also installed my radiator and fan setup. Wired the fans together, which will be ECU controlled.
Image

Image

Image


Last but not least, got the BOV and coolant overflow installed. Made a custom bracket for the overflow, which came out pretty clean.
Image

Image

Image
 
41 - 60 of 149 Posts