
My first DSM build was a 97 with a built 6 bolt, 3076r, and lots of other stuff. I spent lots of money and put a lot of work to it, but within 6 months the body just rotted away and no longer looked nice. I got a few quotes for the body work and it was WAY out of my budget. So I put it up for sale and in the winter and started looking for a 2Gb DSM in good shape to build a street monster out of. I wanted something that would be quick and reasonably reliable for a heavily modified street car. I looked at lots and lots of cars but wouldn’t buy any of them because I wanted to find one that did not need any body work, no rust and minimal bumps and bruises. You all know how hard that is to do nowadays. I finally found a red 98 TSi AWD for sale that was in pretty good shape but had 260,000km on the odometer, MUCH more than I was hoping, and I was not a big fan of the red... So I kept looking and had no luck finding anything better. I made an offer on the 98 and he accepted and I took it home. It sat for six months, waiting for the 97 to sell. I had no interest for a few months so I dropped the price and got a few calls. BUT I never did get a chance to sell it because I hit the ditch in a winter storm and damaged it beyond repair. So I parted it out, barely made anything but most of it is gone now and finally can get a start on the new project. I finally got the engine and tranny out and then I parked it outside. It went un-touched until last month because school, work, and a few other DSM projects got in the way. But finally last month it came back into the garage and the build begins.
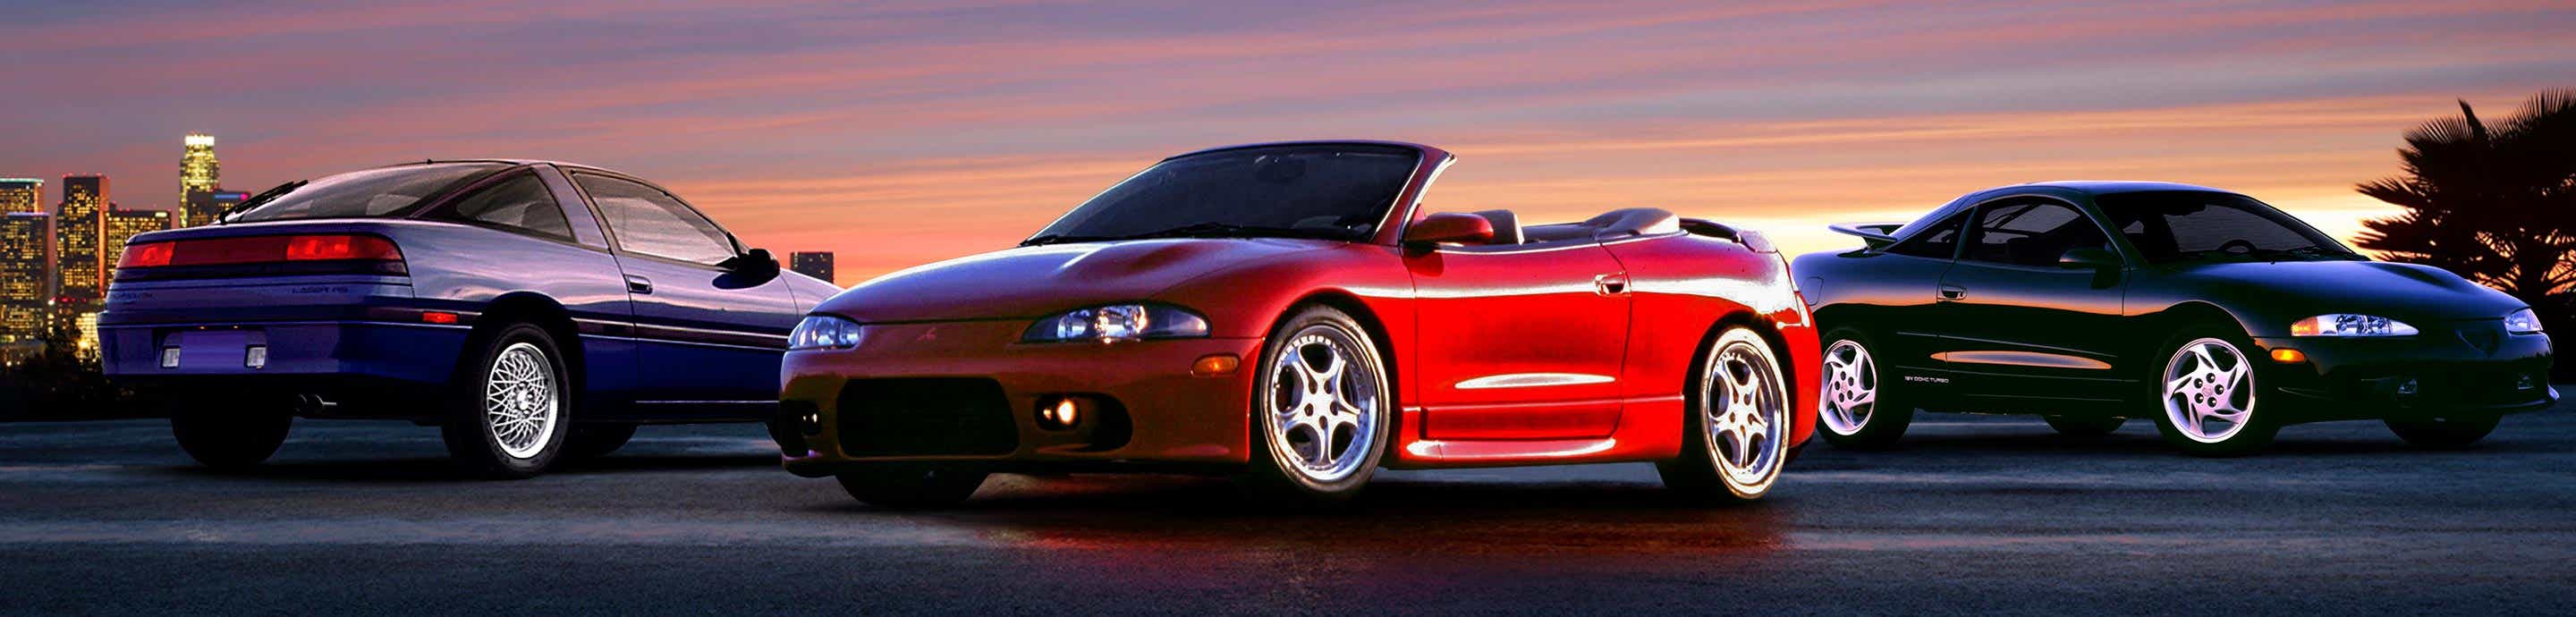
Pics of the 98:
![Image]()
Bone stock
![Image]()
Not long later. Engine and tranny out and axles supported for rolling it around
![Image]()
My biggest fear is I am going to drop 30k into this car and it is going to start to rust just like the other one so I went over the car with a fine tooth comb and found a few spots of rust that I wanted to get touched up before I did anything else to the car. Then while the exhaust and driveshaft is out I want to get the whole underside undercoated. A number of reasons are that it helps with in car road and exhaust noise and easier to clean and looks cleaner overall and it should help prevent rust from starting after all the body work is done. This weekend I am going to jack it up and make sure that there is nothing else in the way of getting the undercoating done.
Also I am going to pull the tail lights because I bought a couple cans of VHT night shades to lightly tint them and am going to pull the headlights apart and paint the housing black.
My hopes and goals for this build started out moderately small. I was thinking somewhere around 400whp on pump gas. But as I started reading about Holset turbo’s I started thinking bigger and got greedy with my power goals. I had my heart set on a T3 HX-40 so I started looking. I knew I needed a good clutch to hold around 600whp (my new goal). Slowboy posted a thread on my local forum having a sale on twin disk clutches. So I contacted Marti and it took about two months worth of deciding and talking about parts and ended up making an order for about 5000USD. This was the worst decision I have ever made. Ever since I sent them the money they have been yanking my chain hard core. I so far have had two wrong turbo’s and with their screw ups on paperwork I am out over 500 dollars not counting phone bills. And I still don’t have the right turbo...
My order consisted of:
BEP T3 Holset HX-40 PRO/Super 7 Blade External Gate
Straightline Performance T3 Tubular Exhaust Manifold
Tial 44mm Wastegate (.9 bar spring)
Power Enterprise Kevlar Timing Belt
PTT Twin Disc Clutch
AEM Methanol Injection Kit with 1 Gallon Tank
Kelford 272’s
Avid Performance Aluminum Motor Mount Kit
Walbro In Tank 255LPH Fuel Pump
Walbro In Line 255LPH Fuel Pump
Goodridge -6an Stainless Tank to Rail Kit
Fuel Lab In-line Fuel Filter
Balance Shaft Eliminator Kit
I knew I wanted a stroker so I started pricing out kits. I was in contact with a friend at Revolution Motorsports and he told me he had a lightly used 2.3l stroker for sale from last season. I was reluctant at first because I wanted to build my own but we talked and the price was right so I picked that up. And I knew it would be good for big power because he ran a couple mid ten second passes and dynoed at ~760whp, I can’t remember the exact number. There were only a couple passes on the motor and about 300km worth of street driving and dyno time. He threw new mains and rod bearings in the bottom for me anyway.
Stroker details:
Knife edged OEM crank, ARP main studs, custom block girdle, ACL coated race bearings, O-ringed block, Pauter Rods, Custom JE Pistons and Rings with Teflon coated side skirts and ceramic coated piston tops and balance shaft bearings are blocked off. The block was prepped with a Revolution Motorsports custom torque plate, when boring and honing was done.
Other Parts I Have Gathered Over the Last Year:
Buschur Stage 3 Head
BC Titanium Valve Springs and Retainers
FIC 1000cc Injectors
Magnus High Flow Fuel Rail
Aeromotive FPR
Unknown Intercooler (24x12x3 with 3” inlets and outlets)
3” Short Route Cold IC Piping
2.5” Hot IC Piping
Tial 50mm BOV
Fluidyne Aluminum Radiator
2x 12” Slim Fans
B&M Short Shifter
ARP L19’s
FP 4” Intake
K&N 9” long 4” round filter
Throttlebodys.com 63mm, Full Shaft, Tapered and Polished NT Throttle Body
2G AEM EMS
AEM UEGO Wideband
AEM Tru Boost Gauge and Controller
AEM Twin Fire
Autometer Cobalt Oil Pressure
Autometer Cobalt EGT
Autometer Cobalt Oil Temp
NT Water Pipe
Fluidampr Crank Pulley
RM Front and Rear Sway Bars
Prothane Front and Rear Suspension Bushing Kits
PC680 Battery and JMF Tray
ExtremePSI Holset Feed and Return Lines
Earls Inline Filter
JMF Small Oil Catch Can
AEM TruBoost 5bar Map Sensor Upgrade
Goodridge SS Brake Lines
RTM Shifter Cable Solid Bushings
Shep Stage 4 w/ Welded Center
I replaced the old tie rod ends with some OEM pieces as well as some new aftermarket swaybar end links. I am sure there are some things I am forgetting but thats is a good start I think.
Pics of the 98:

Bone stock

Not long later. Engine and tranny out and axles supported for rolling it around

My biggest fear is I am going to drop 30k into this car and it is going to start to rust just like the other one so I went over the car with a fine tooth comb and found a few spots of rust that I wanted to get touched up before I did anything else to the car. Then while the exhaust and driveshaft is out I want to get the whole underside undercoated. A number of reasons are that it helps with in car road and exhaust noise and easier to clean and looks cleaner overall and it should help prevent rust from starting after all the body work is done. This weekend I am going to jack it up and make sure that there is nothing else in the way of getting the undercoating done.
Also I am going to pull the tail lights because I bought a couple cans of VHT night shades to lightly tint them and am going to pull the headlights apart and paint the housing black.
My hopes and goals for this build started out moderately small. I was thinking somewhere around 400whp on pump gas. But as I started reading about Holset turbo’s I started thinking bigger and got greedy with my power goals. I had my heart set on a T3 HX-40 so I started looking. I knew I needed a good clutch to hold around 600whp (my new goal). Slowboy posted a thread on my local forum having a sale on twin disk clutches. So I contacted Marti and it took about two months worth of deciding and talking about parts and ended up making an order for about 5000USD. This was the worst decision I have ever made. Ever since I sent them the money they have been yanking my chain hard core. I so far have had two wrong turbo’s and with their screw ups on paperwork I am out over 500 dollars not counting phone bills. And I still don’t have the right turbo...
My order consisted of:
BEP T3 Holset HX-40 PRO/Super 7 Blade External Gate
Straightline Performance T3 Tubular Exhaust Manifold
Tial 44mm Wastegate (.9 bar spring)
Power Enterprise Kevlar Timing Belt
PTT Twin Disc Clutch
AEM Methanol Injection Kit with 1 Gallon Tank
Kelford 272’s
Avid Performance Aluminum Motor Mount Kit
Walbro In Tank 255LPH Fuel Pump
Walbro In Line 255LPH Fuel Pump
Goodridge -6an Stainless Tank to Rail Kit
Fuel Lab In-line Fuel Filter
Balance Shaft Eliminator Kit
I knew I wanted a stroker so I started pricing out kits. I was in contact with a friend at Revolution Motorsports and he told me he had a lightly used 2.3l stroker for sale from last season. I was reluctant at first because I wanted to build my own but we talked and the price was right so I picked that up. And I knew it would be good for big power because he ran a couple mid ten second passes and dynoed at ~760whp, I can’t remember the exact number. There were only a couple passes on the motor and about 300km worth of street driving and dyno time. He threw new mains and rod bearings in the bottom for me anyway.
Stroker details:
Knife edged OEM crank, ARP main studs, custom block girdle, ACL coated race bearings, O-ringed block, Pauter Rods, Custom JE Pistons and Rings with Teflon coated side skirts and ceramic coated piston tops and balance shaft bearings are blocked off. The block was prepped with a Revolution Motorsports custom torque plate, when boring and honing was done.
Other Parts I Have Gathered Over the Last Year:
Buschur Stage 3 Head
BC Titanium Valve Springs and Retainers
FIC 1000cc Injectors
Magnus High Flow Fuel Rail
Aeromotive FPR
Unknown Intercooler (24x12x3 with 3” inlets and outlets)
3” Short Route Cold IC Piping
2.5” Hot IC Piping
Tial 50mm BOV
Fluidyne Aluminum Radiator
2x 12” Slim Fans
B&M Short Shifter
ARP L19’s
FP 4” Intake
K&N 9” long 4” round filter
Throttlebodys.com 63mm, Full Shaft, Tapered and Polished NT Throttle Body
2G AEM EMS
AEM UEGO Wideband
AEM Tru Boost Gauge and Controller
AEM Twin Fire
Autometer Cobalt Oil Pressure
Autometer Cobalt EGT
Autometer Cobalt Oil Temp
NT Water Pipe
Fluidampr Crank Pulley
RM Front and Rear Sway Bars
Prothane Front and Rear Suspension Bushing Kits
PC680 Battery and JMF Tray
ExtremePSI Holset Feed and Return Lines
Earls Inline Filter
JMF Small Oil Catch Can
AEM TruBoost 5bar Map Sensor Upgrade
Goodridge SS Brake Lines
RTM Shifter Cable Solid Bushings
Shep Stage 4 w/ Welded Center
I replaced the old tie rod ends with some OEM pieces as well as some new aftermarket swaybar end links. I am sure there are some things I am forgetting but thats is a good start I think.


