
Lots of pics to tell the story to date. I'll break it up a little bit with the pictures. Anyhow, I'd started a build thread on another forum, then didn't keep up with it once things got out of control.
On with the pictures:
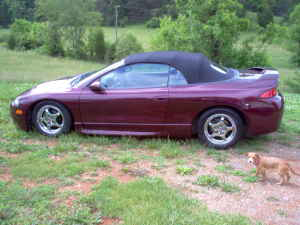
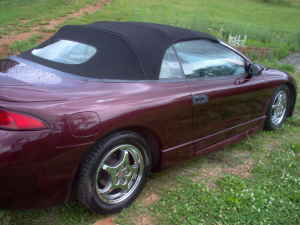
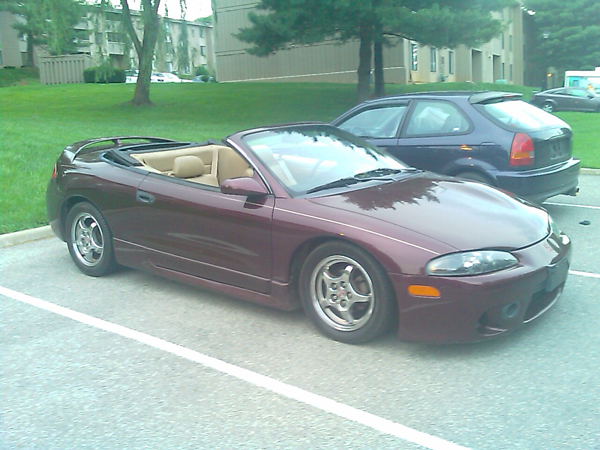
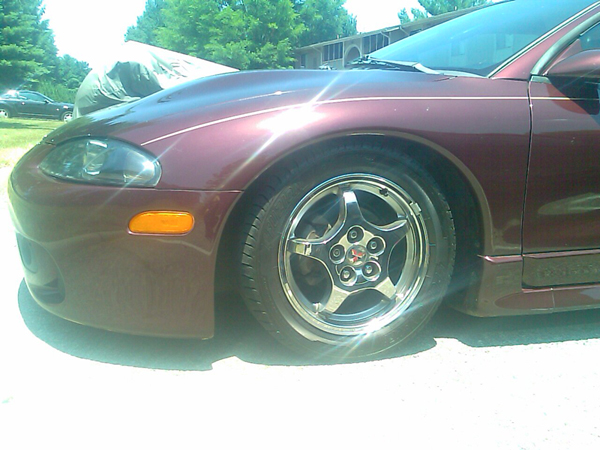
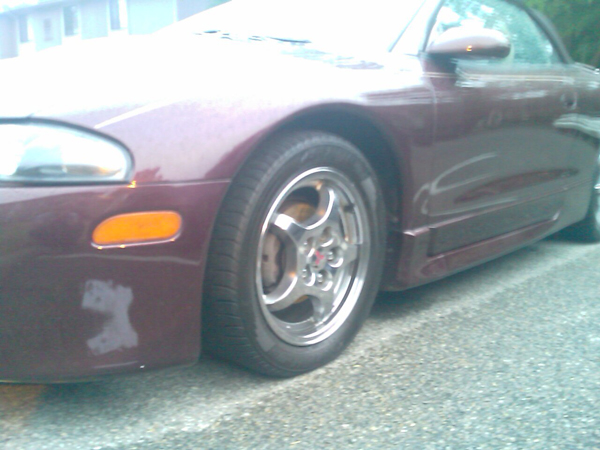
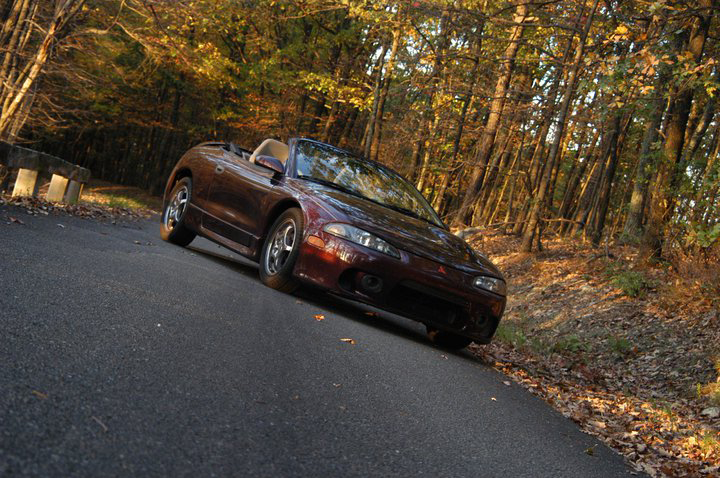
Picked the car up for ~$3,250 off of craigslist. The PO had lowered it on Tokico Blues and Tokico springs. Aside from that it was bone stock.
![Image]()
![Image]()
![Image]()
![Image]()
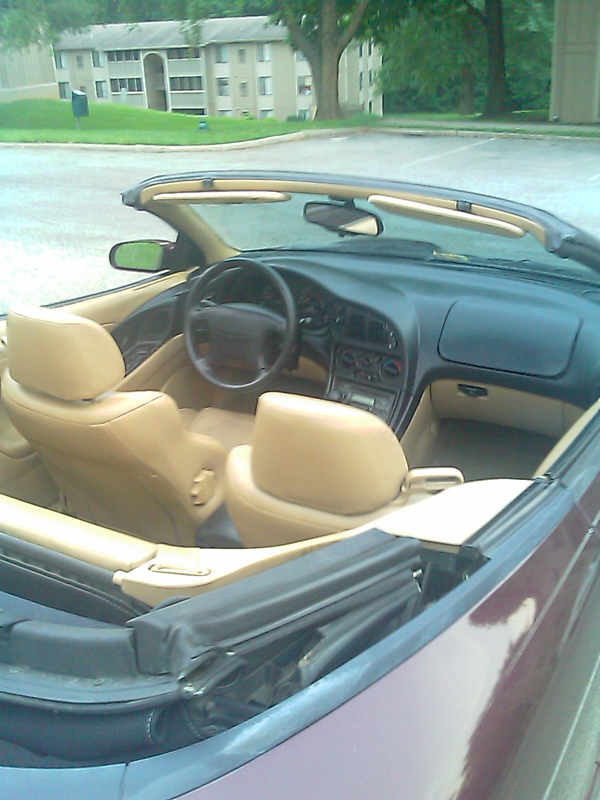
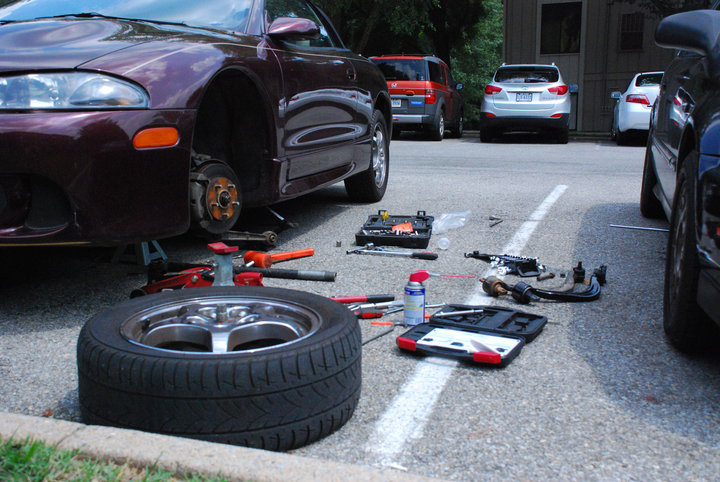
Finally home. Pulled a few things apart for further inspection.
![Image]()
![Image]()
![Image]()
![Image]()
![Image]()
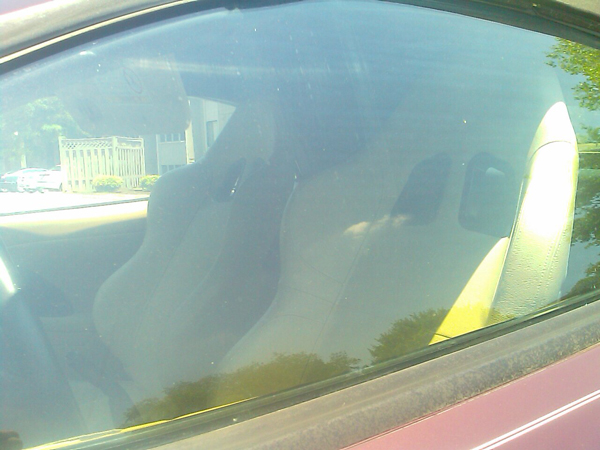
The seats were pretty ratty, so I picked up a set from Summit. I also threw in some new plugs, drivers motor mount and AC fan.
![Image]()
![Image]()
![Image]()
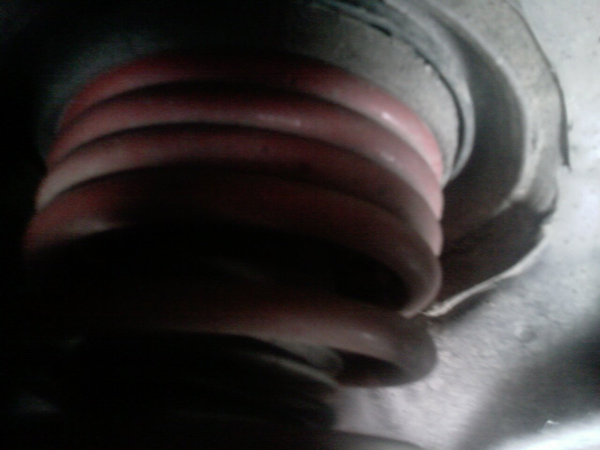
Tokico springs looking like jelly bands. Something went wrong here. I couldn't find any burn marks from heating the springs. They weren't cut either. This destroyed the control arms. New arms and Eibach Sportlines went in.
![Image]()
![Image]()
![Image]()
![Image]()
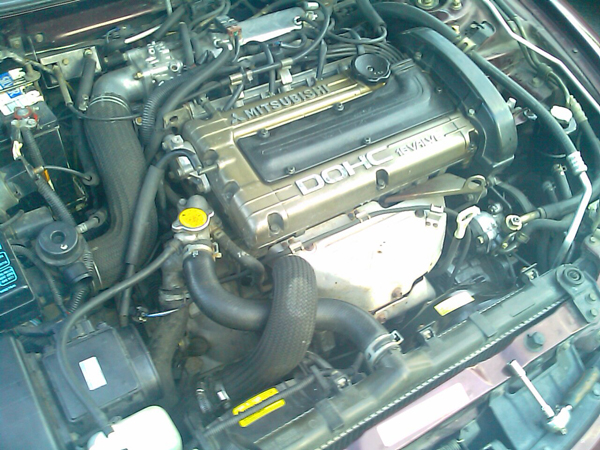
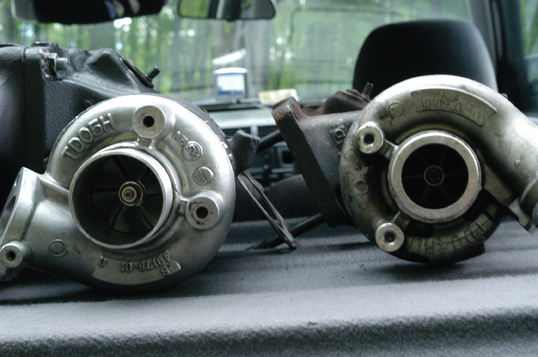
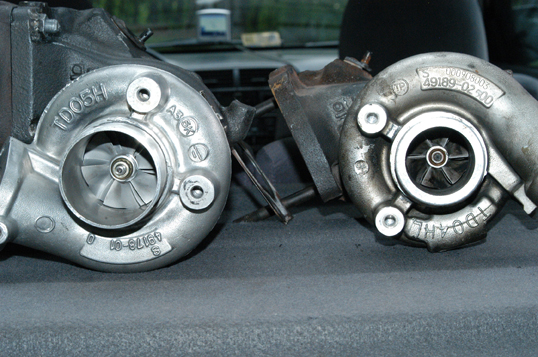
Much confusion over this tiny little guy. The engine is from a Mitsubishi RVR from over in j-spec country. The debate rises with the compressor wheel. When it came time to pull the turbo, I put the myths to rest in discovering the TD04HL is in fact a 13T turbo, a slightly larger variant of the 13G.
![Image]()
![Image]()
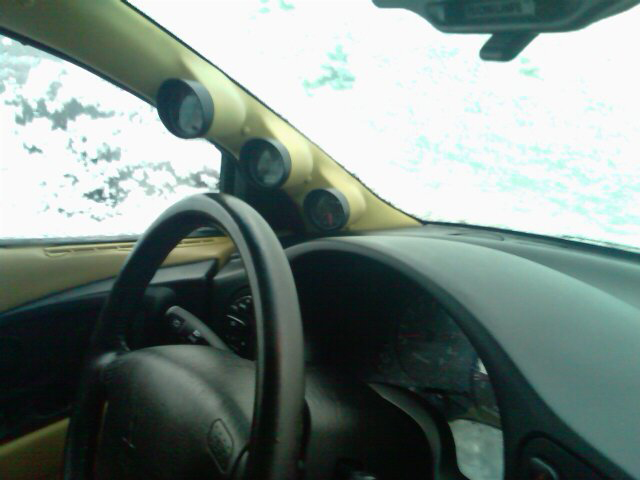
Threw some gauges in before it snowed for the season. You can see the first snow on the window there. Boost, W/B and oil pressure.
![Image]()
Out of order, I know. I lost track of my pictures from here. Some time in the Spring I was driving the car to work and lost power. The balance shaft belt came apart causing the engine to skip time. I'd lost the head, the lower end was unscathed.
![Image]()
![Image]()
My initial goal for the car was to keep it fun for me and my friends. Something to cruise in with just a smidgen of performance. When the engine let go, so did my grasp on goals. I set the bar to 300 whp and started to order up parts. No mind was given to cost over reliability, so everything to go back in was OE grade or better. Nearly everything that came off was replaced or tweaked in some way.
![Image]()
Regardless of goals, the 13T was something I pipe-dreamed about getting rid of. I really didn't want to work on the car much- I was satisfied. A lot of mods came from "now is a better time than ever" mentality. The TD04HL-13T came off in place of a locally machined TD05H-20g.
![Image]()
![Image]()
![Image]()
...to be continued...
On with the pictures:
Picked the car up for ~$3,250 off of craigslist. The PO had lowered it on Tokico Blues and Tokico springs. Aside from that it was bone stock.

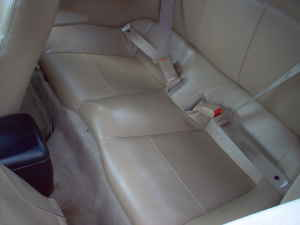
Finally home. Pulled a few things apart for further inspection.


The seats were pretty ratty, so I picked up a set from Summit. I also threw in some new plugs, drivers motor mount and AC fan.


Tokico springs looking like jelly bands. Something went wrong here. I couldn't find any burn marks from heating the springs. They weren't cut either. This destroyed the control arms. New arms and Eibach Sportlines went in.
Much confusion over this tiny little guy. The engine is from a Mitsubishi RVR from over in j-spec country. The debate rises with the compressor wheel. When it came time to pull the turbo, I put the myths to rest in discovering the TD04HL is in fact a 13T turbo, a slightly larger variant of the 13G.


Threw some gauges in before it snowed for the season. You can see the first snow on the window there. Boost, W/B and oil pressure.
Out of order, I know. I lost track of my pictures from here. Some time in the Spring I was driving the car to work and lost power. The balance shaft belt came apart causing the engine to skip time. I'd lost the head, the lower end was unscathed.
My initial goal for the car was to keep it fun for me and my friends. Something to cruise in with just a smidgen of performance. When the engine let go, so did my grasp on goals. I set the bar to 300 whp and started to order up parts. No mind was given to cost over reliability, so everything to go back in was OE grade or better. Nearly everything that came off was replaced or tweaked in some way.
Regardless of goals, the 13T was something I pipe-dreamed about getting rid of. I really didn't want to work on the car much- I was satisfied. A lot of mods came from "now is a better time than ever" mentality. The TD04HL-13T came off in place of a locally machined TD05H-20g.

...to be continued...


